Testnet Faucet Guide
This guide walks you through getting testnet NIL from the Nillion Faucet. You will need an EVM wallet (e.g. MetaMask or Rabby) with Sepolia ETH to cover gas, then you can claim testnet NIL from the faucet.
This guide is intended for interactions / development with Nillion's Blind Modules (i.e. nilDB and nilAI). For Blacklight, see the Blacklight Testnet Faucet guide.
Step 1: Create an EVM wallet
Create an EVM-compatible wallet if you don't have one. Common options include:
Install the browser extension (or mobile app), create or import a wallet, and make sure you have your recovery phrase stored securely.
Step 2: Add the Sepolia network
We recommend adding the Sepolia network to your wallet so you can view your Sepolia ETH and testnet NIL balance.
- Automatic
- Manual
Click the button below to add Sepolia to your wallet in one step.
- Open your wallet and go to Settings or the network dropdown.
- Click Add network or Add a network manually.
- Enter the following details:
- Network Name: Sepolia
- New RPC URL: https://ethereum-sepolia-rpc.publicnode.com
- Chain ID: 11155111
- Currency Symbol: ETH
- Block Explorer: https://sepolia.etherscan.io
- Save the network and switch to Sepolia.
Step 3: Get Sepolia ETH
You need a small amount of Sepolia ETH to pay for gas when using testnet NIL.
- Visit a Sepolia faucet, such as the Conduit Faucet or Alchemy Faucet.
- Connect your wallet and request Sepolia ETH.
- Wait for the transaction to complete.
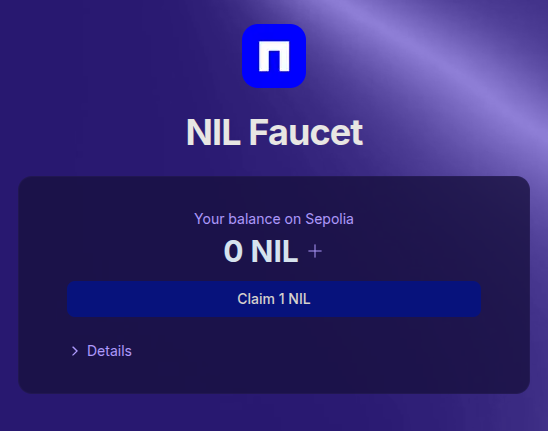
Step 4: Get testnet NIL from the Nillion Faucet
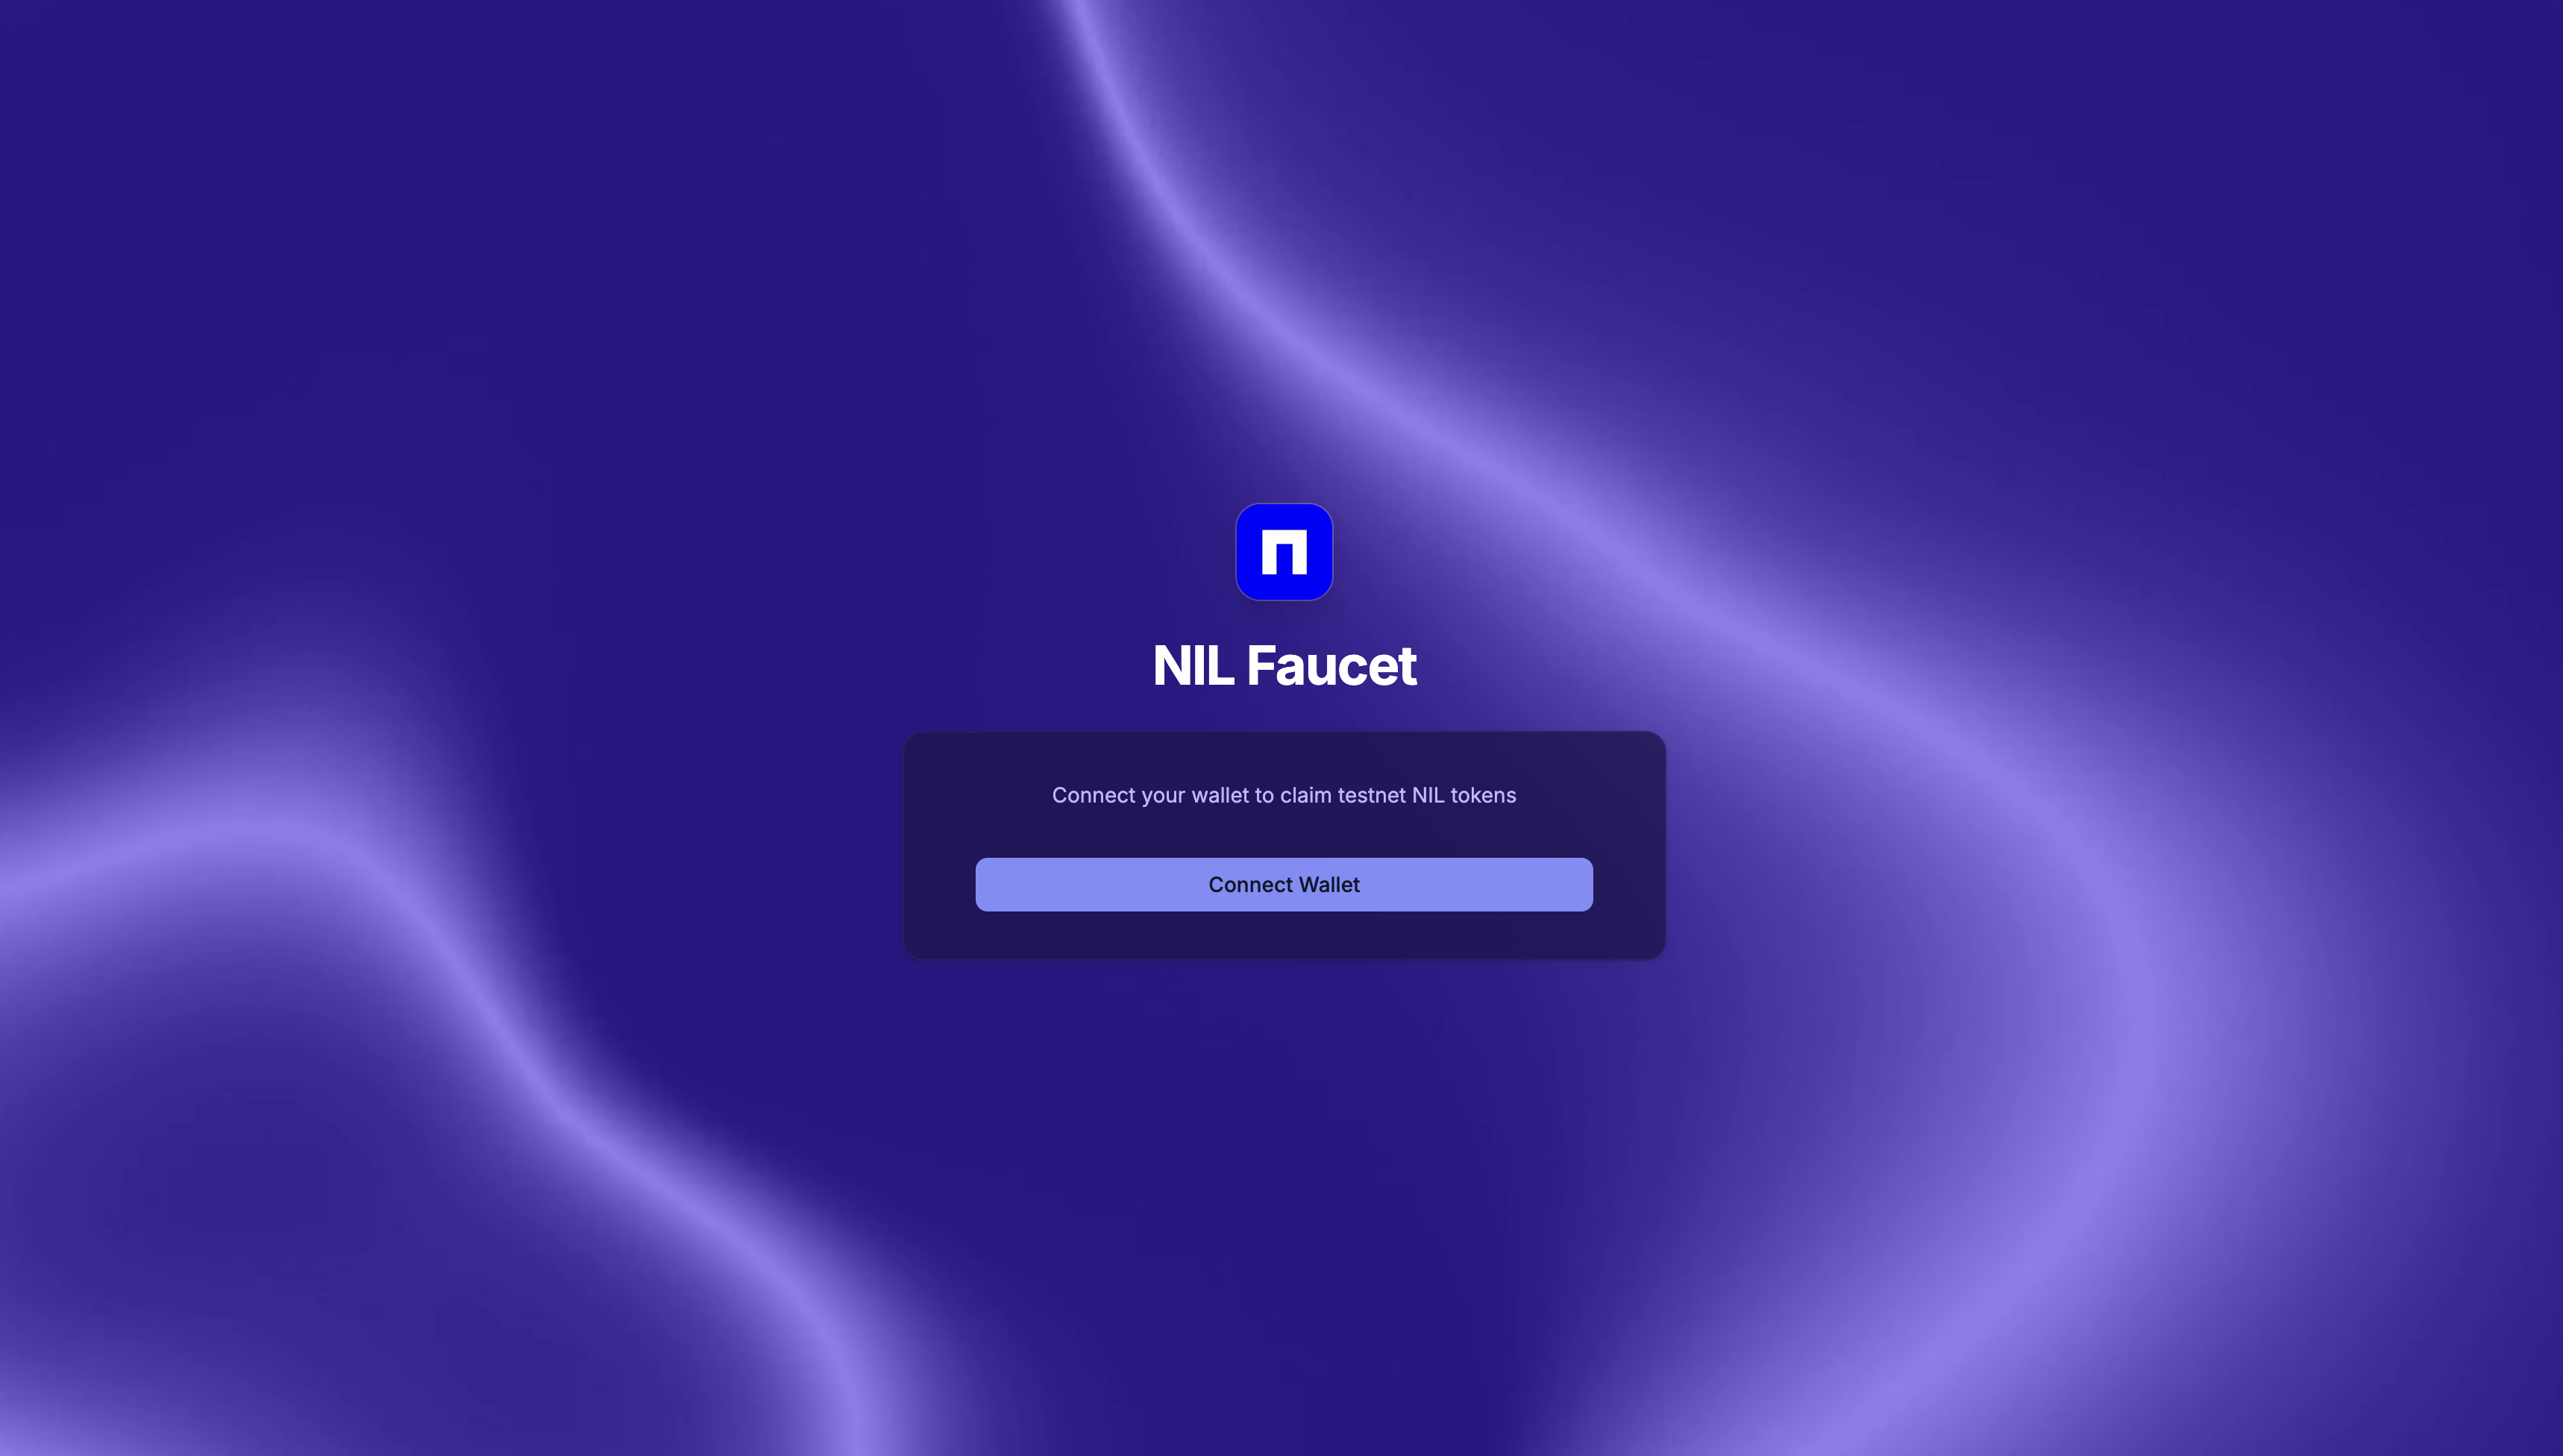
- Go to the Nillion Faucet.
- Connect your wallet (the same EVM wallet you use with Sepolia).
- Claim testnet NIL as prompted by the faucet.
You can use the + button on the faucet (next to NIL) to add the NIL token to your wallet. This will register the token in your wallet so your balance is visible.