Install Nillion
Install the Nillion SDK in one command. This includes the nada directory to create a Nada project and the nillion-devnet to interact with a local Nillion network.
One line create-nillion-app installation
info
Nillion SDK binaries are available for Linux and macOS platforms. For Windows installation, make sure to follow our Windows developer environment setup guide ahead of installing binaries.
Prerequisites:
- Python (>= 3.10)
- Node (>= v18.17)
We have made this a simpler process with our NPX tool: create-nillion-app.
In one command it installs:
- Nillion SDK
- A NextJS app
- Python / Nada folders to use Nada programs
Getting Started
- Run the following command the follow the CLI instructions
npx @nillion/create-nillion-app
- Name your directory (i.e.
my_blind_app) - Wait until CLI completes
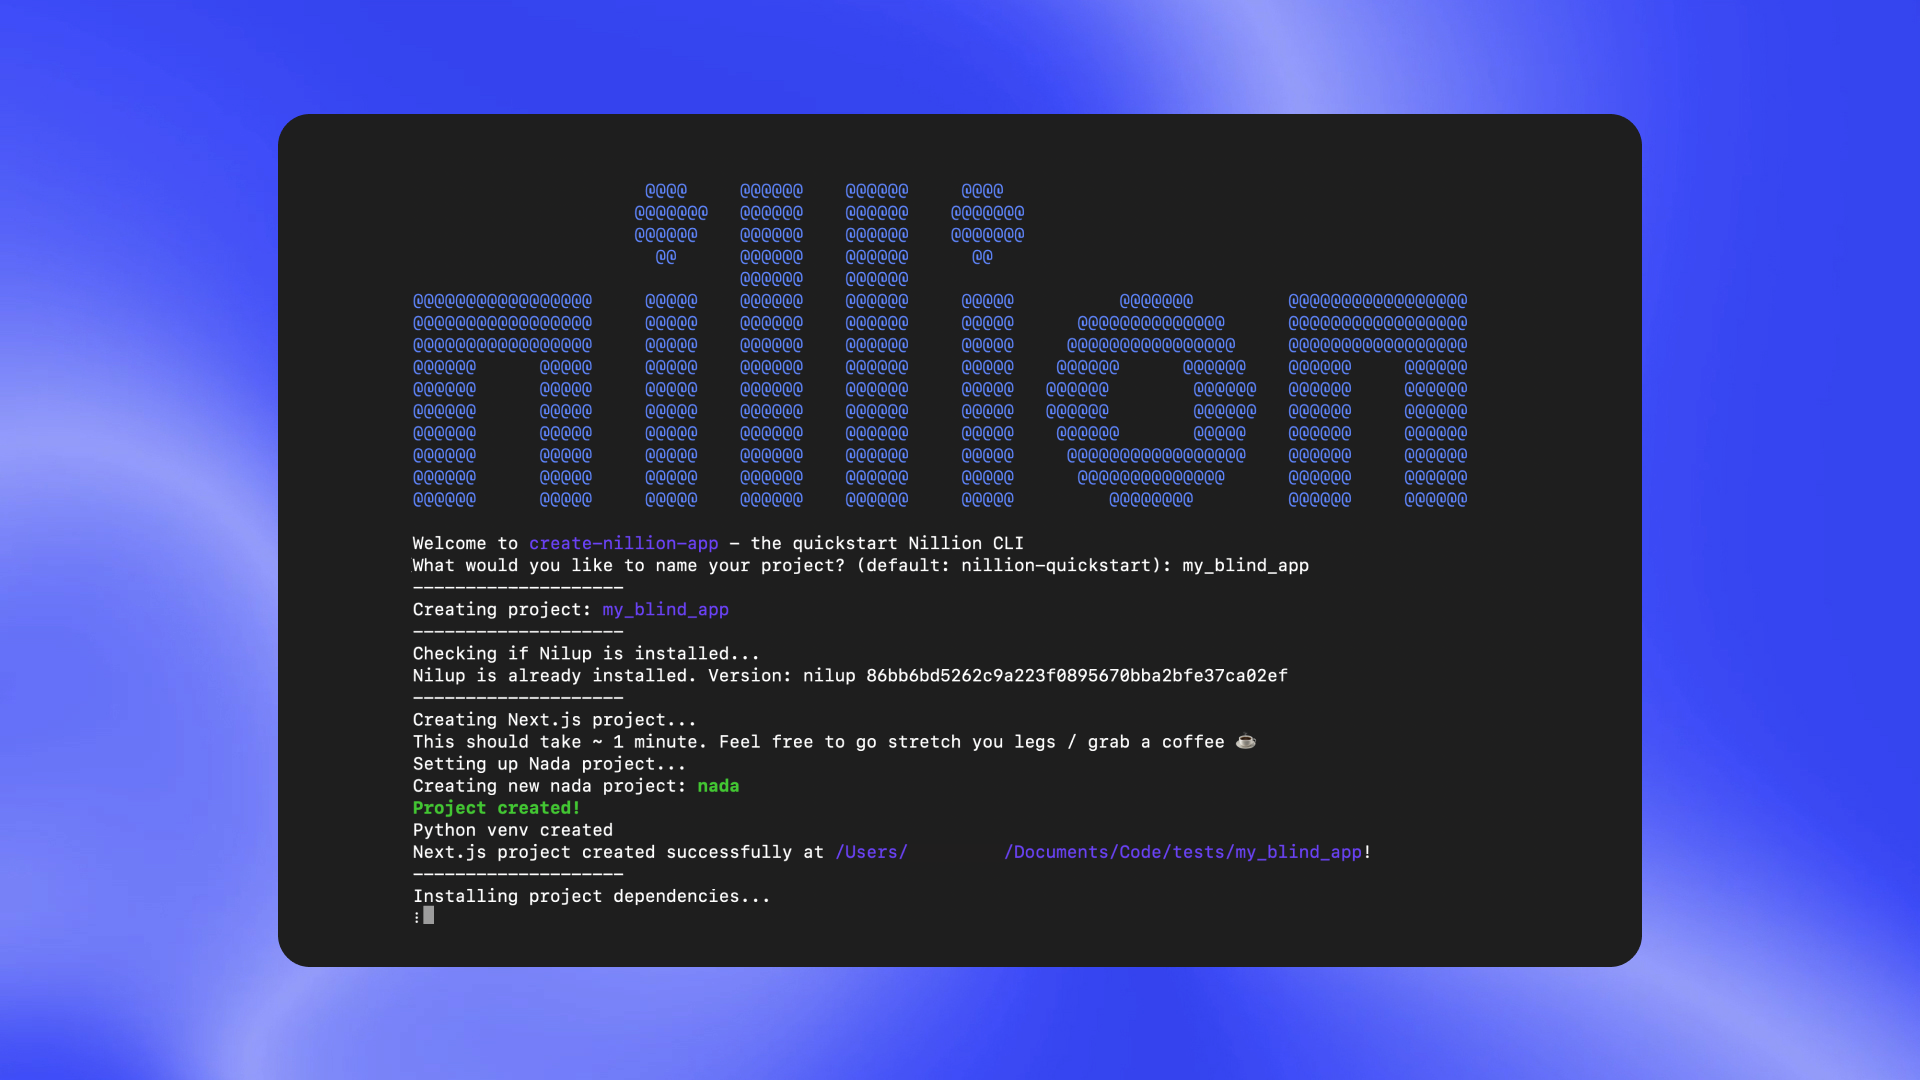
Your shell should look like this:
Your tree should look like this:
.
├── README.md
├── app
│   ├── components
│   ├── home
│   ├── layout.tsx
│   ├── lib
│   └── page.tsx
├── nada
│   ├── .venv
│   ├── nada-project.toml
│   ├── requirements.txt
│   ├── src
│   └── target
│   └── tests
├── next.config.mjs
├── node_modules
├── package-lock.json
├── package.json
├── public
│   ├── favicon.ico
│   ├── next.svg
│   └── vercel.svg
└── tsconfig.json
Next steps
✅ You're off to a great start! Now that you have installed the Nillion SDK and Tools, you have everything you need to create a Nada project.